
Understanding Floating Floor Installation for DIY Enthusiasts
The prospect of installing piso flotante, also known as floating laminate flooring, has become increasingly appealing to homeowners seeking to enhance their living spaces without breaking the bank. This innovative flooring solution offers a perfect blend of aesthetics, durability, and installation convenience. As more people embrace DIY home improvement projects, understanding the intricacies of piso flotante installation can empower you to transform your space with confidence.
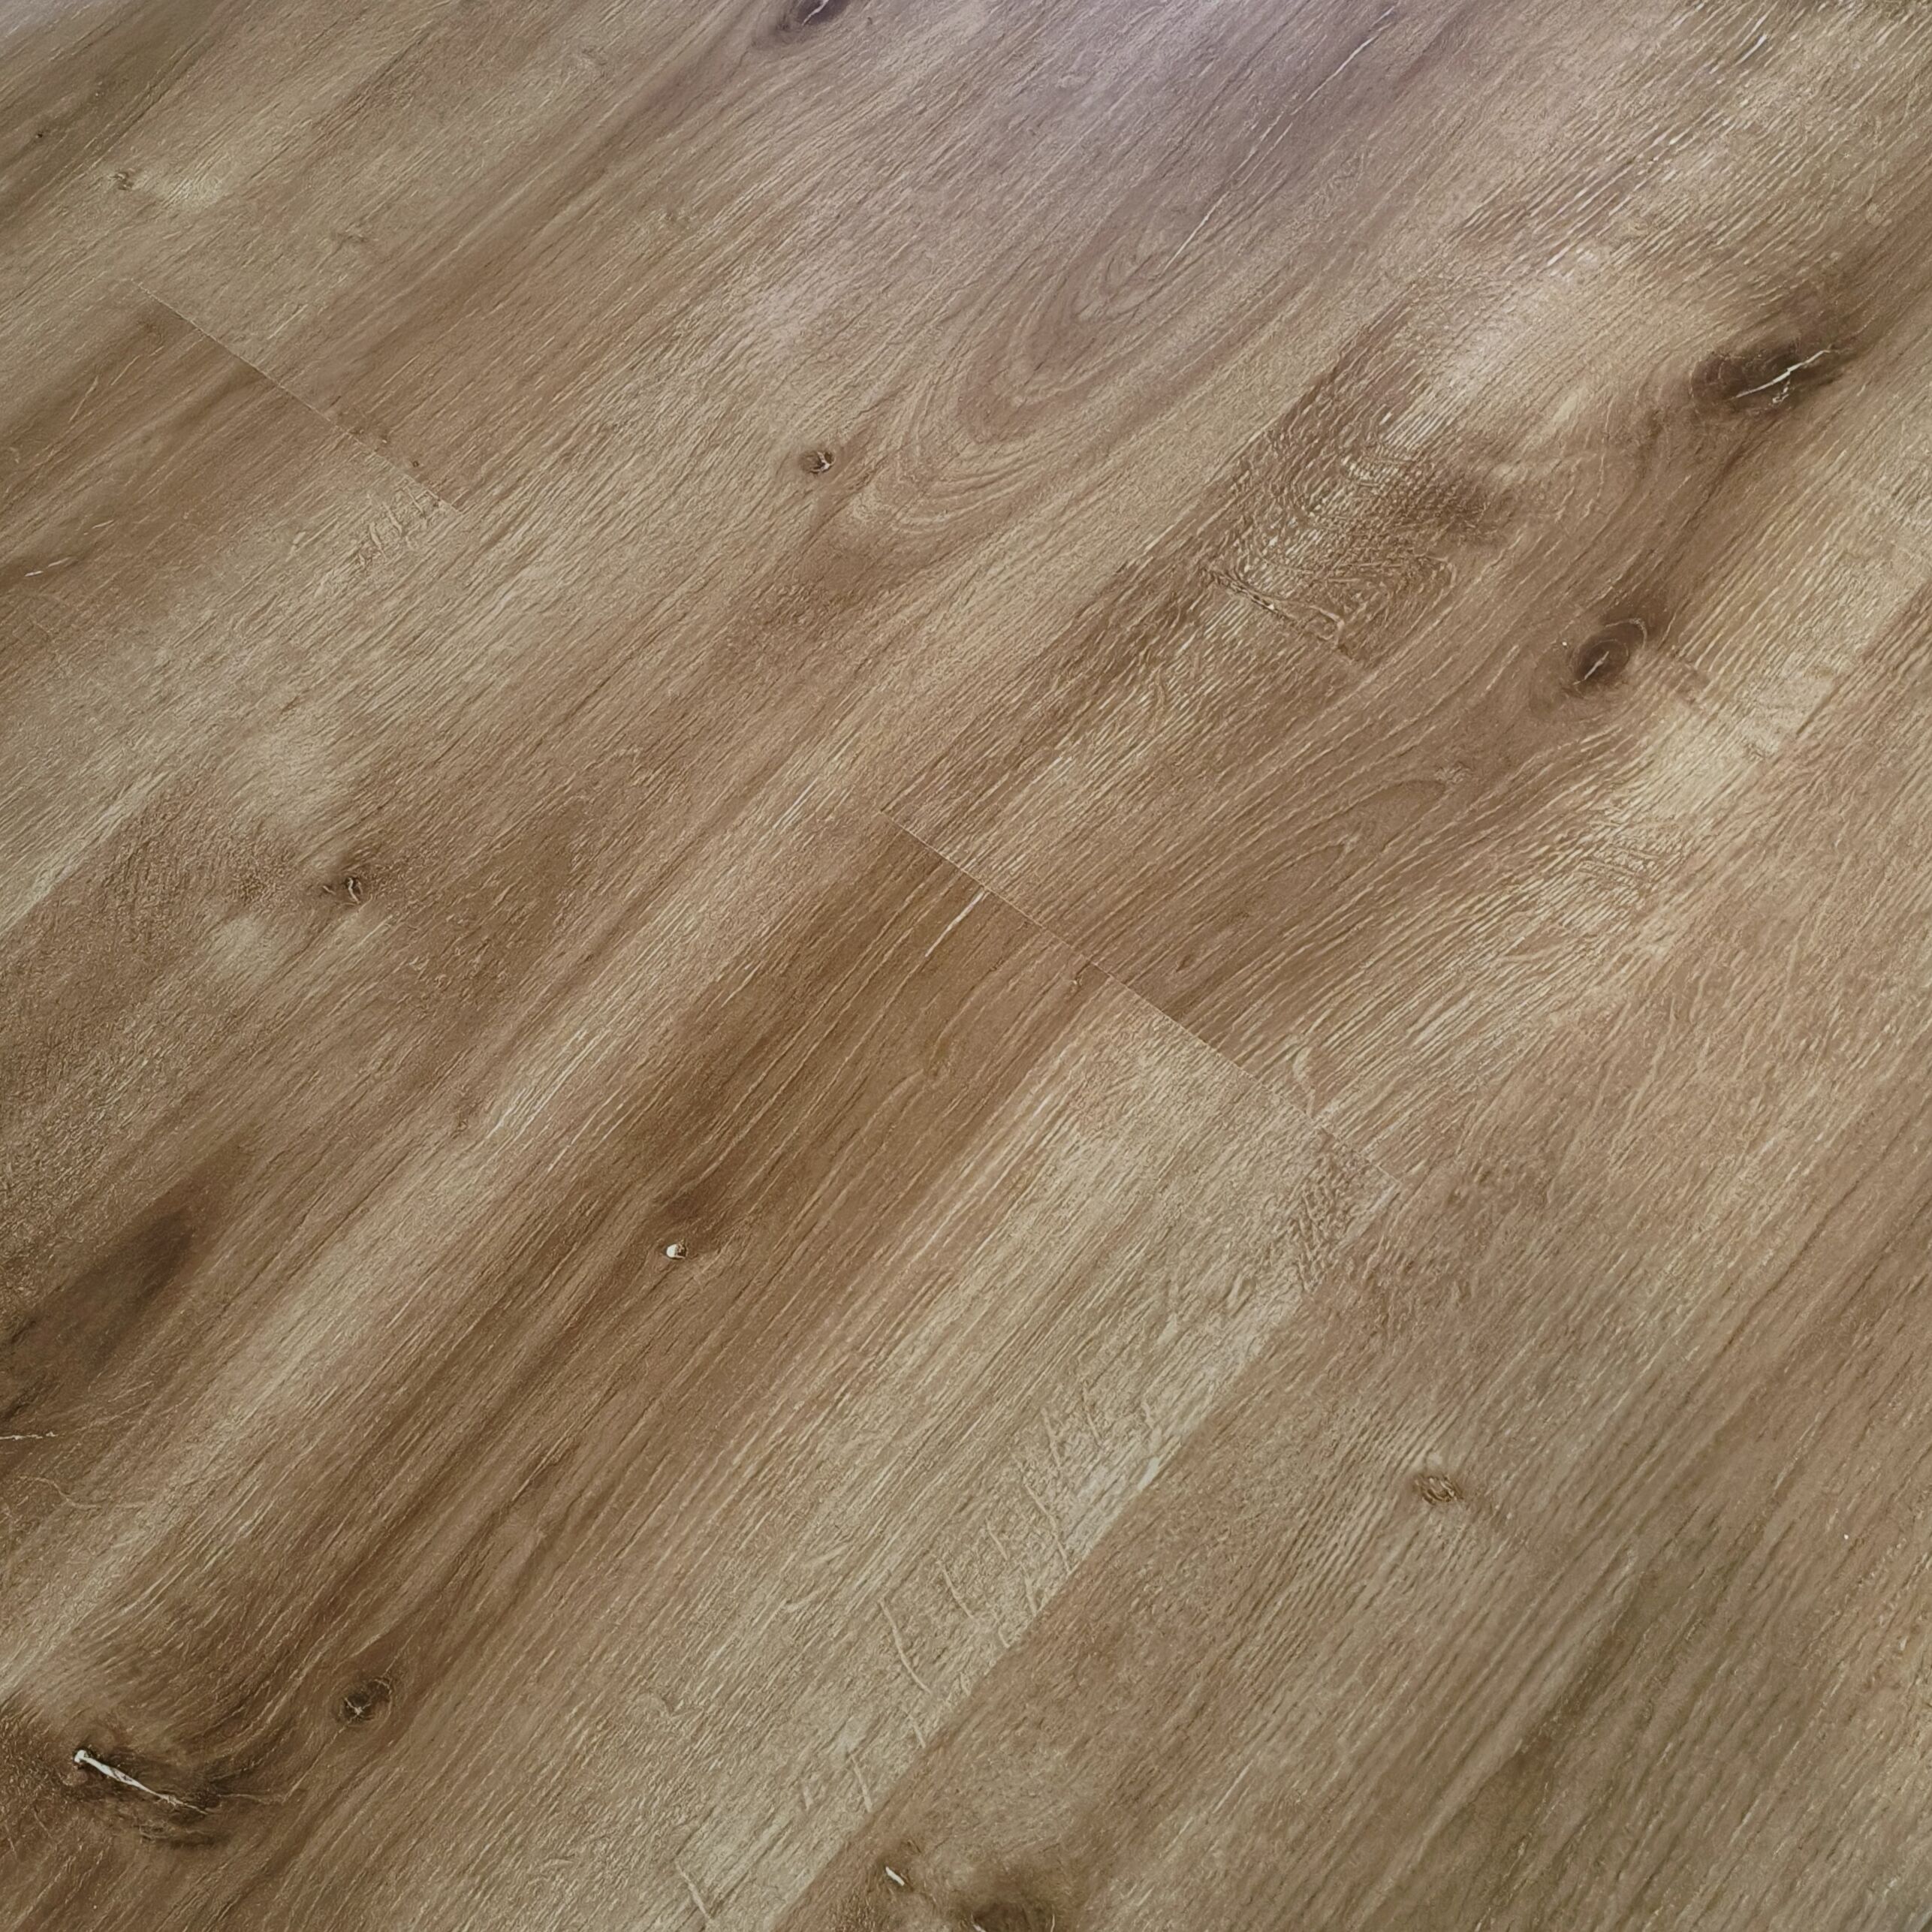
The beauty of piso flotante lies in its clever design - individual planks that click together to create a seamless surface without being permanently fixed to the subfloor. This floating installation method not only simplifies the process but also allows for natural expansion and contraction of the material, ensuring longevity and stability.
Essential Tools and Materials for Installation
Basic Equipment Requirements
Before embarking on your piso flotante installation journey, gathering the right tools is crucial for success. You'll need a tape measure, pencil, carpenter's square, utility knife, and a saw (either hand saw or power saw with fine-tooth blade). Additionally, spacers are essential for maintaining proper expansion gaps, while a tapping block and pull bar help ensure tight seams between planks.
The installation process also requires safety equipment, including safety glasses, knee pads, and work gloves. These items protect you during the project and make the experience more comfortable, especially when spending extended periods on your knees.
Preparation Materials
Beyond tools, proper preparation materials are vital. You'll need underlayment, which provides moisture protection and sound dampening. Transition strips for doorways and molding for edges ensure a professional finish. Having extra planks on hand (about 10% more than calculated) accounts for cuts, waste, and potential future repairs.
Step-by-Step Installation Process
Room Preparation and Planning
Success begins with thorough preparation. Remove existing flooring and ensure the subfloor is clean, dry, and level. Any irregularities greater than 1/8 inch over 6 feet should be addressed. Acclimate your piso flotante materials in the installation room for at least 48 hours, maintaining consistent temperature and humidity levels.
Plan your layout carefully, considering the direction of planks and pattern continuity. Generally, planks should run parallel to the longest wall, but factors like natural light sources and room flow might influence this decision.
Installation Execution
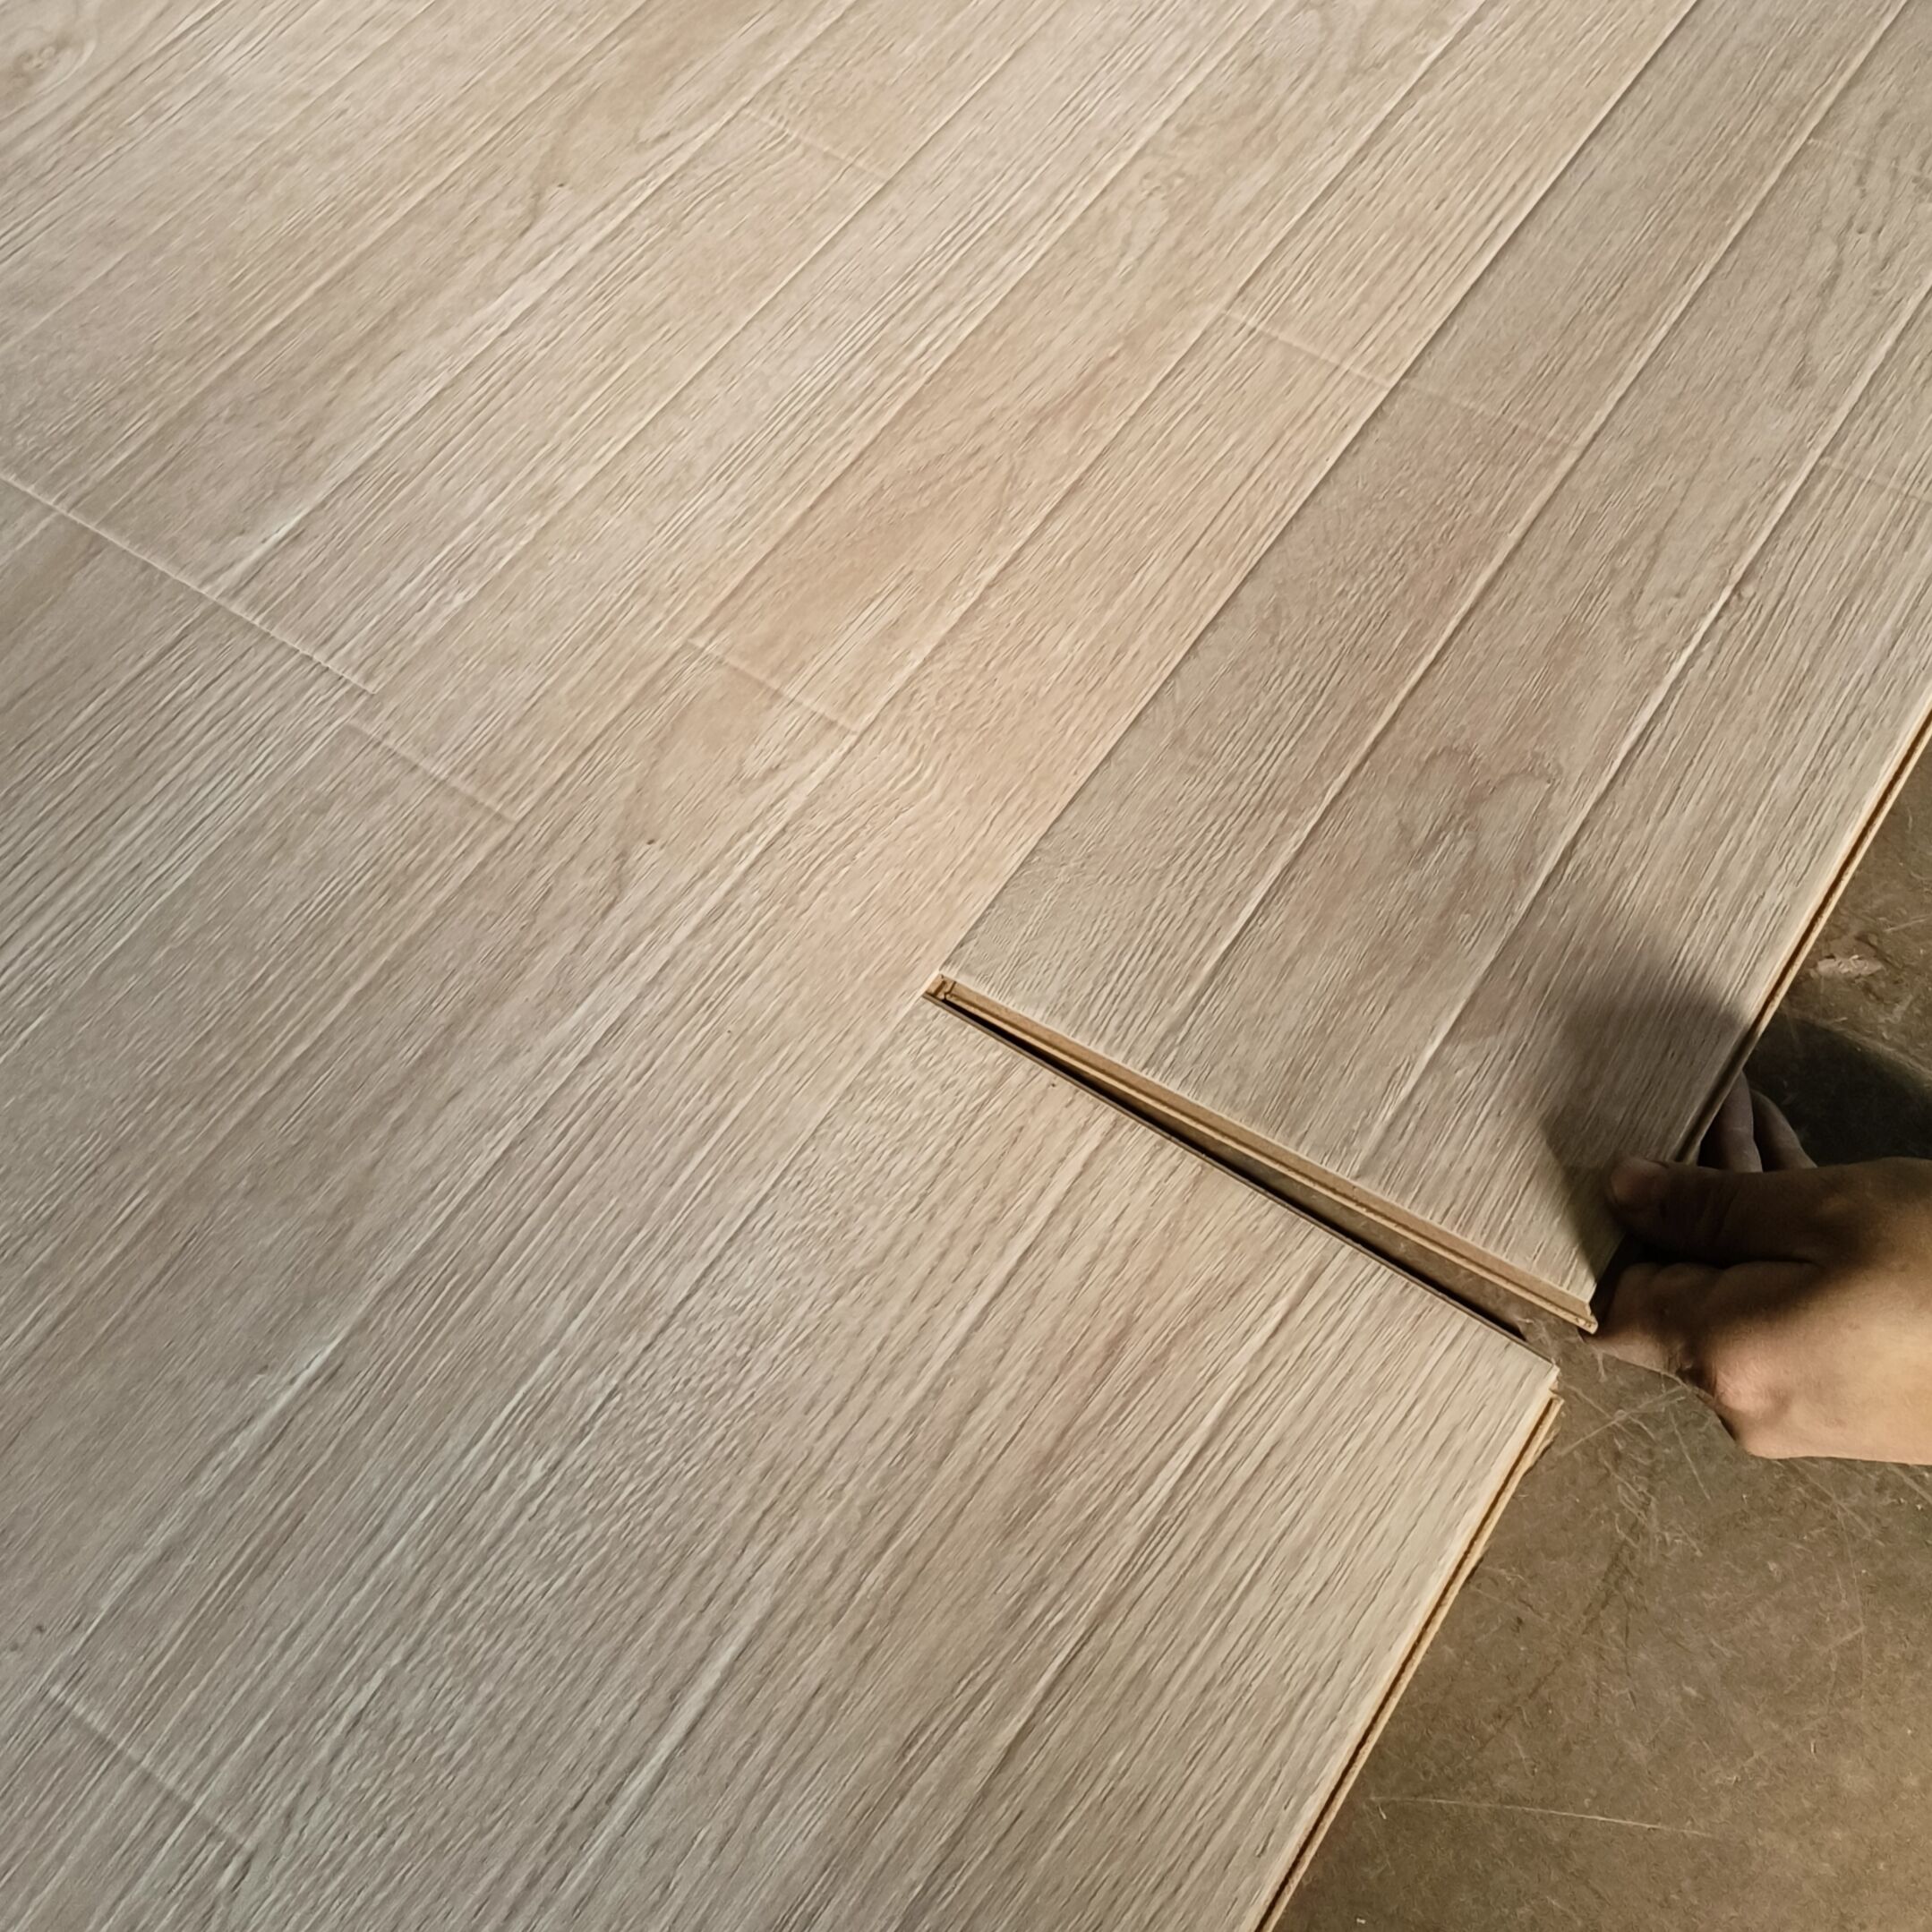
Begin installation by laying underlayment and establishing your first row. Use spacers along walls to maintain expansion gaps. The first row sets the foundation for the entire installation, so take time to ensure it's perfectly straight. As you progress, stagger end joints between rows by at least 6 inches to create a stronger, more visually appealing floor.
When connecting planks, maintain a 30-45 degree angle for optimal clicking engagement. Use gentle but firm pressure - forcing connections can damage the locking mechanism. Work systematically across the room, regularly checking for proper alignment and tight seams.
Common Challenges and Solutions
Dealing with Obstacles
Doorframes and irregular spaces often present challenges during piso flotante installation. For doorframes, carefully undercut the casing to allow the flooring to slide underneath, creating a seamless transition. When encountering pipes or other fixed objects, measure carefully and cut planks accordingly, using a hole saw for circular cuts.
Complex room layouts may require special cutting techniques. Take time to plan these areas carefully, making paper templates if necessary to ensure precise fits.
Troubleshooting Tips
If planks aren't clicking together properly, check for debris in the locking mechanism or damaged edges. Sometimes, slight adjustments to your installation angle can resolve connection issues. When working in tight spaces where tapping blocks can't reach, use a pull bar to secure the final connections.
Address any squeaks or movement immediately - these often indicate improper installation or subfloor issues that should be corrected before continuing.
Maintenance and Care After Installation
Immediate Post-Installation Care
After completing your piso flotante installation, avoid heavy furniture placement or excessive foot traffic for at least 24 hours. This allows adhesives in transition strips to cure properly and lets the floor settle. Install furniture pads and avoid dragging items across the new surface.
Clean the floor thoroughly but gently, using appropriate laminate floor cleaners. Avoid excessive moisture, as standing water can damage the flooring or seep between planks.
Long-term Maintenance Strategies
Establish a regular maintenance routine to protect your investment. Daily sweeping or vacuuming prevents scratch-causing debris accumulation. Use only manufacturer-recommended cleaning products, and address spills promptly to prevent staining or warping.
Periodically inspect your floor for signs of wear or damage. Early detection of issues allows for simpler repairs and prevents more extensive problems from developing.
Frequently Asked Questions
How long does it typically take to install piso flotante in an average room?
For a standard 12x12 foot room, experienced DIYers can complete installation in 4-6 hours. Beginners should plan for 8-10 hours, allowing extra time for careful measurement and cutting. Complex room layouts or patterns may require additional time.
What are the most common mistakes to avoid during installation?
Key mistakes include insufficient acclimation time, improper subfloor preparation, neglecting expansion gaps, and forcing planks together too aggressively. Also, failing to stagger end joints adequately can compromise both structural integrity and aesthetic appeal.
Can piso flotante be installed over existing flooring?
While possible over some surfaces, installation over existing flooring requires careful evaluation. The current surface must be completely flat, stable, and moisture-free. Certain floors, like thick carpet or heavily damaged materials, should always be removed first.